OpenAPI Reference Documentation
Doctave can generate API reference documentation from your OpenAPI 3.0 specifications. They will be rendered alongside the rest of your Markdown content under the same domain.

Lets walk through how to include an OpenAPI spec file in your project.
Including your OpenAPI spec
First, place your OpenAPI spec file (YAML or JSON) in your project directory
(the directory with your doctave.yaml file).
Next, update your doctave.yaml and reference the spec file:
title: My docs
---
open_api:
  - spec_file: openapi.json
    uri_prefix: /api
You can include multiple OpenAPI specification files in a single project.
The uri_prefix parameter tells Doctave the URL namespace your spec should be
accessible in. In this case, the spec will be accessible under
/api.
Updating your navigation
Including the spec alone in the project doesn't yet make it visible. You need to update your navigation structure to reference the new OpenAPI pages.
Luckily, Doctave provides a convenience method for this, which will generate the navigation structure from the spec itself. You specify where in the navigation structure to place the links, and Doctave will do the rest.
Open your navigation.yaml file, and include the following at the bottom of
the file:
- heading: API
  items:
    - open_api_spec: openapi.json
Here we tell Doctave to generate the navigation structure
from the openapi.json file and include it under the API section. You can
also choose to place the open_api_spec section under a different parent.
After you save the file, the navigation should update. Every OpenAPI tag gets
its own element, and the operations for that tag are included as children for
that element.
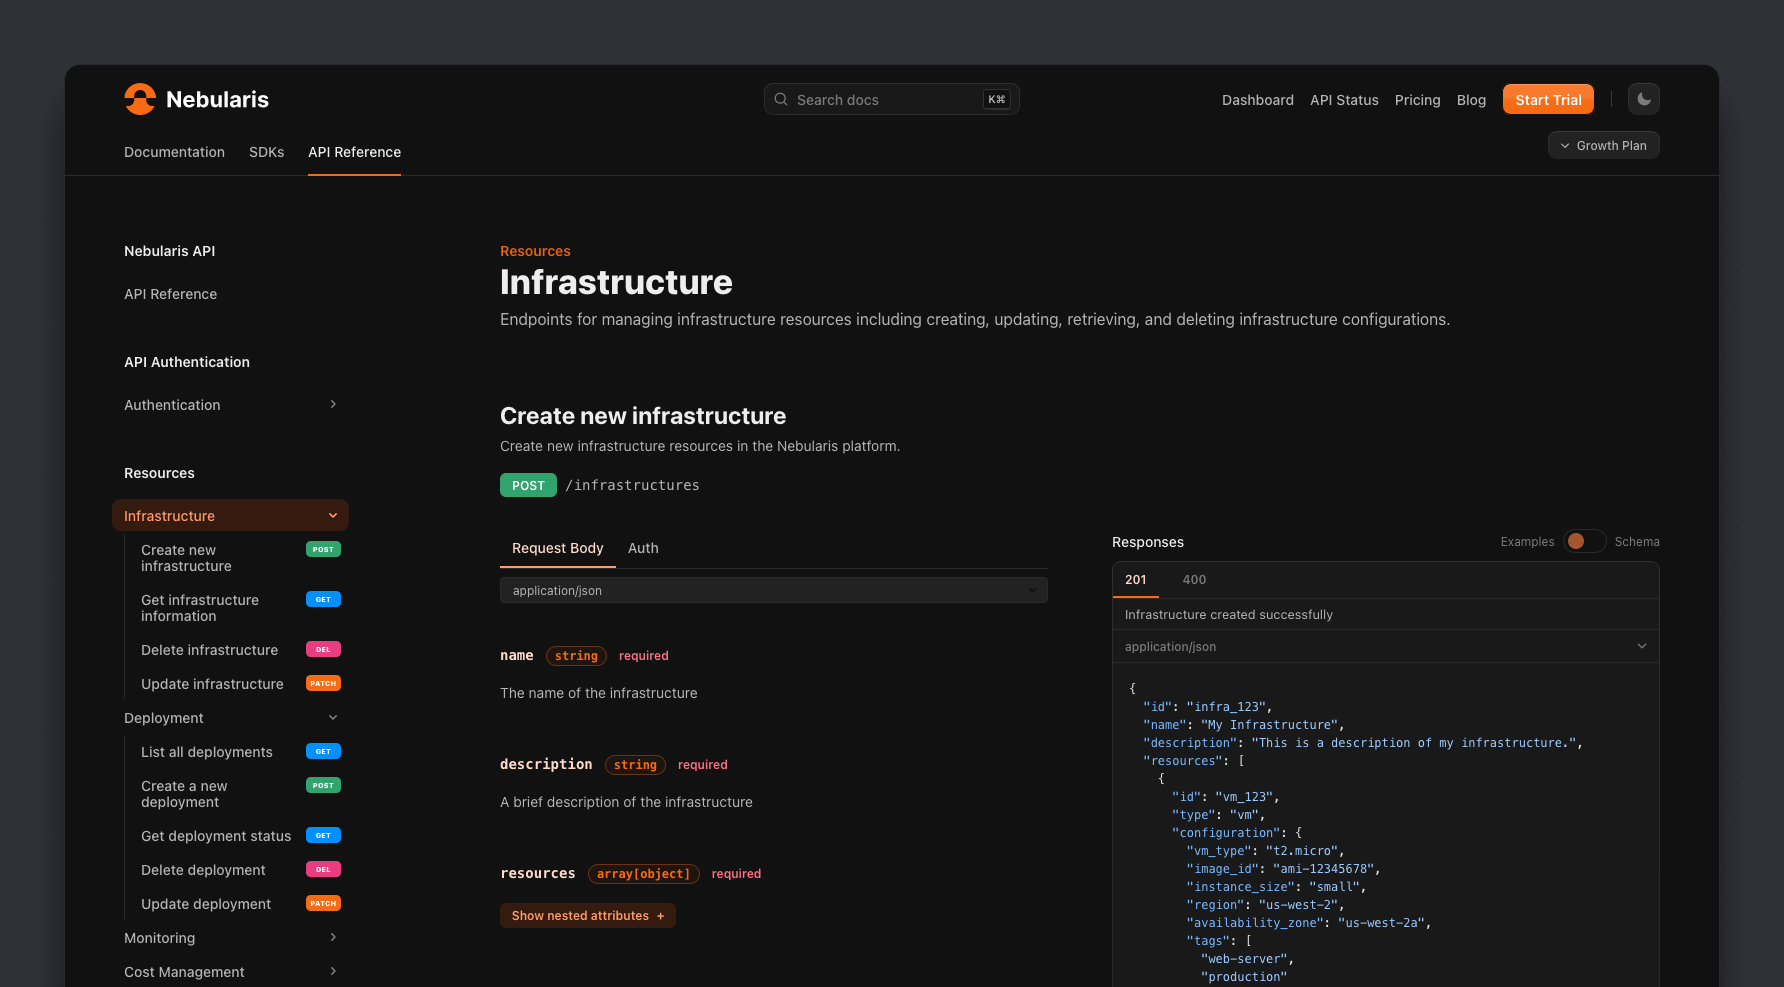
Page structure
Doctave generates a separate page for each of your OpenAPI tags. These pages will include every operation or the tag, in the order in which they appear in the OpenAPI spec file.
Supported extensions
x-webhooks
Since OpenAPI 3.0 doesn't include native support for webhooks, you can render
your webhooks via the x-webhooks extension.
You can place your webhook definitions, which will follow the same schema as
regular OpenAPI operations, under the x-webhooks tag at the top level of
your schema.
openapi: '3.0'
info: ...
tags: [...]
x-webhooks:
pet-update:
post:
summary: Triggered on pet update events
operationId: update-pet
tags:
- Pets
requestBody:
...
responses:
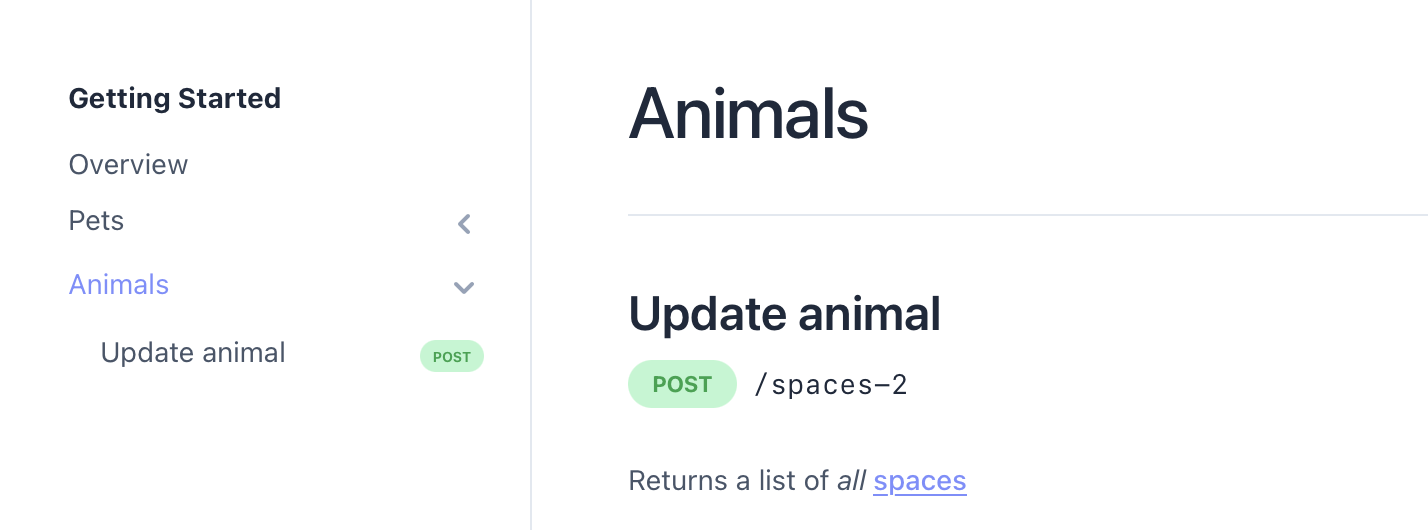
...x-doctave-tags
You can use the x-doctave-tags to place an API operation under another tag in docs only. It functions exactly as tags.
openapi: '3.0'
info: ...
tags: [...]
x-webhooks:
  pet-update:
    post:
      summary: Triggered on pet update events
      tags:
        - Pets
      x-doctave-tags:
        - Animals
      requestBody:
        ...
      responses:
	...
In the above example, the described POST endpoint would result in being placed under the "Animals" tag.
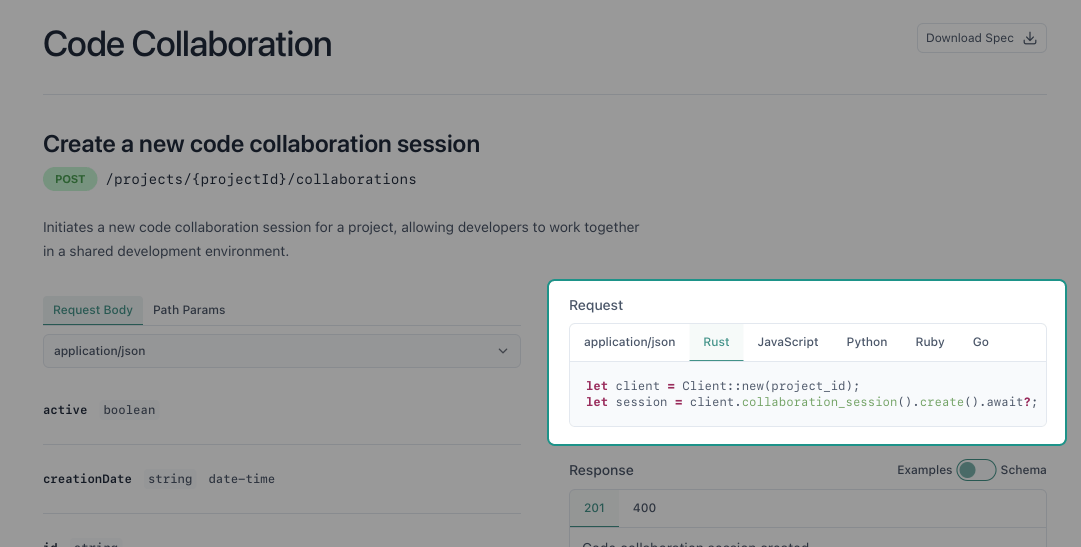
Code Samples
You can include custom code samples that show how to invoke your operation.
Code samples are added at the operation level, under the x-doctave and
code-samples fields:
openapi: '3.0'
info: # ...
tags: [...]
paths:
  /example:
    get:
      # (other fields omitted)
      x-doctave:
        code-samples:
          - language: rust
            code: |
              let client = Client::new(project_id);
              let session = client.collaboration_session().create().await?;

          - language: javascript
            code: |
              // JavaScript code example
          - language: python
            code: |
              # Python code example
          - language: ruby
            code: |
              # Ruby code example
          - language: go
            code: |
              // Go code example
These will get rendered on the right side of the operation with the appropriate syntax highlighting applied for the language:
Limitations
There are a few limitations with the current Doctave OpenAPI implementation:
- Only local references are supported with
$refproperties. - Your spec must be included as a single file
- OpenAPI 3.1 and Swagger 2.0 aren't supported