Tabs and Sub-tabs (beta)
Note: This feature is currently in beta. The configuration syntax may receive small tweaks until it's stabilized.
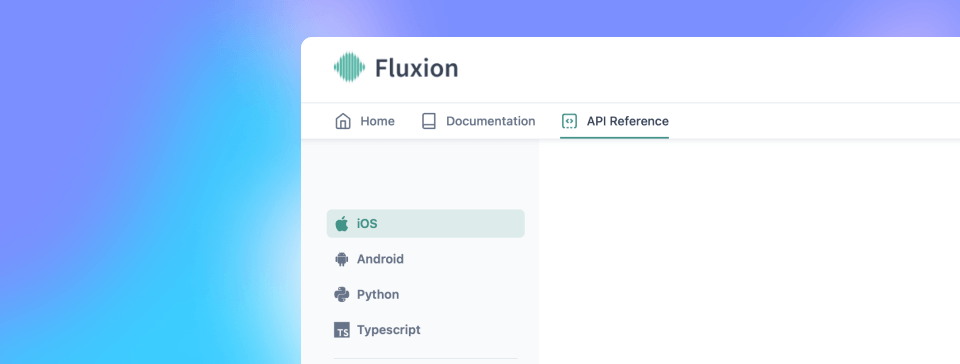
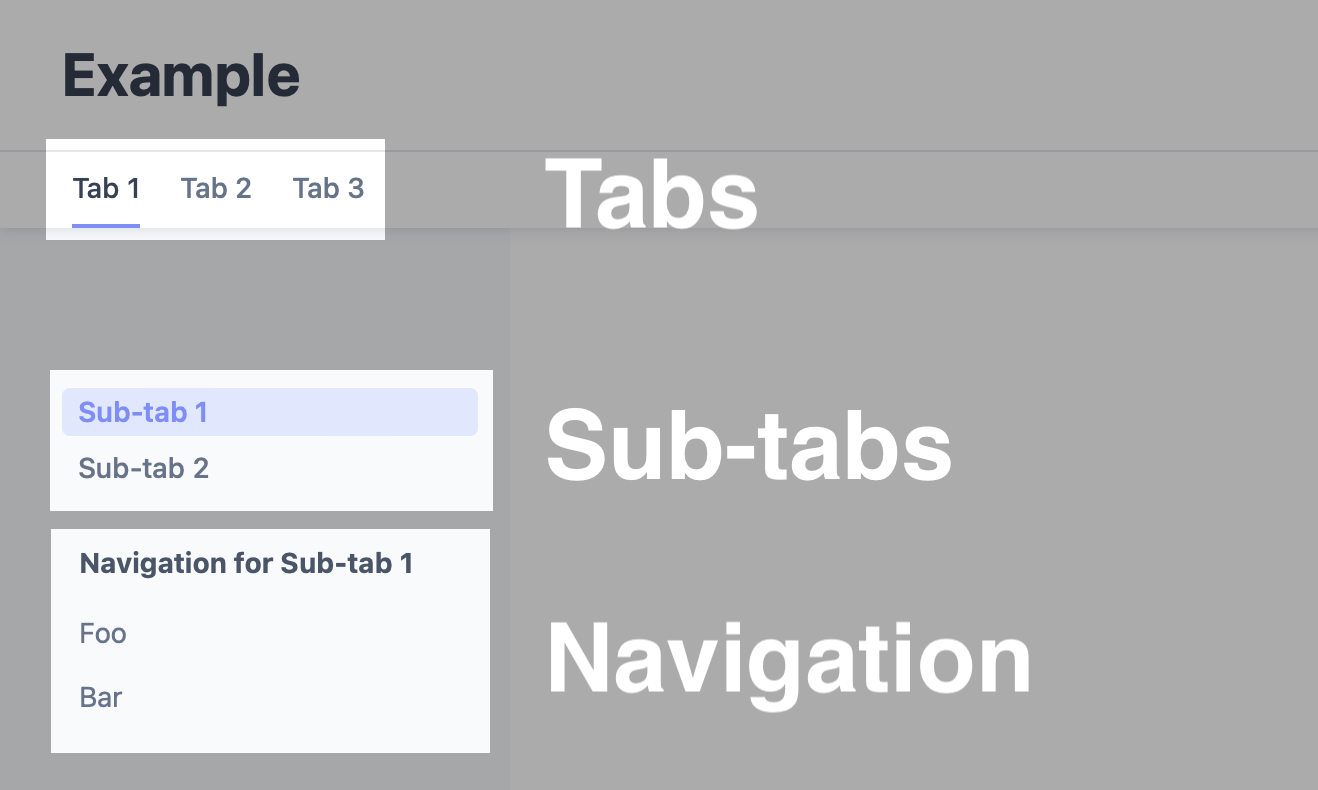
Tabs and Sub-tabs are used to organize content on your site. Each tab has it's own navigation and landing page. Tabs may contain sub-tabs, which help you to further divide your content into compartments. You can have one or more tabs and sub-tabs on a site.
For a site using tabs, Doctave renders a tab navigation bar at the top of the page, and for each sub-tab, Doctave renders a sub-tab selector on the left side of the page.
Tabs and sub-tabs are configured using a structure.yaml file.
As the Doctave site navigation works based on the folder structure of your project, implementing tabs and sub-tabs may require you to adjust your project structure. Read more below.
Setting up Tabs and Sub-tabs
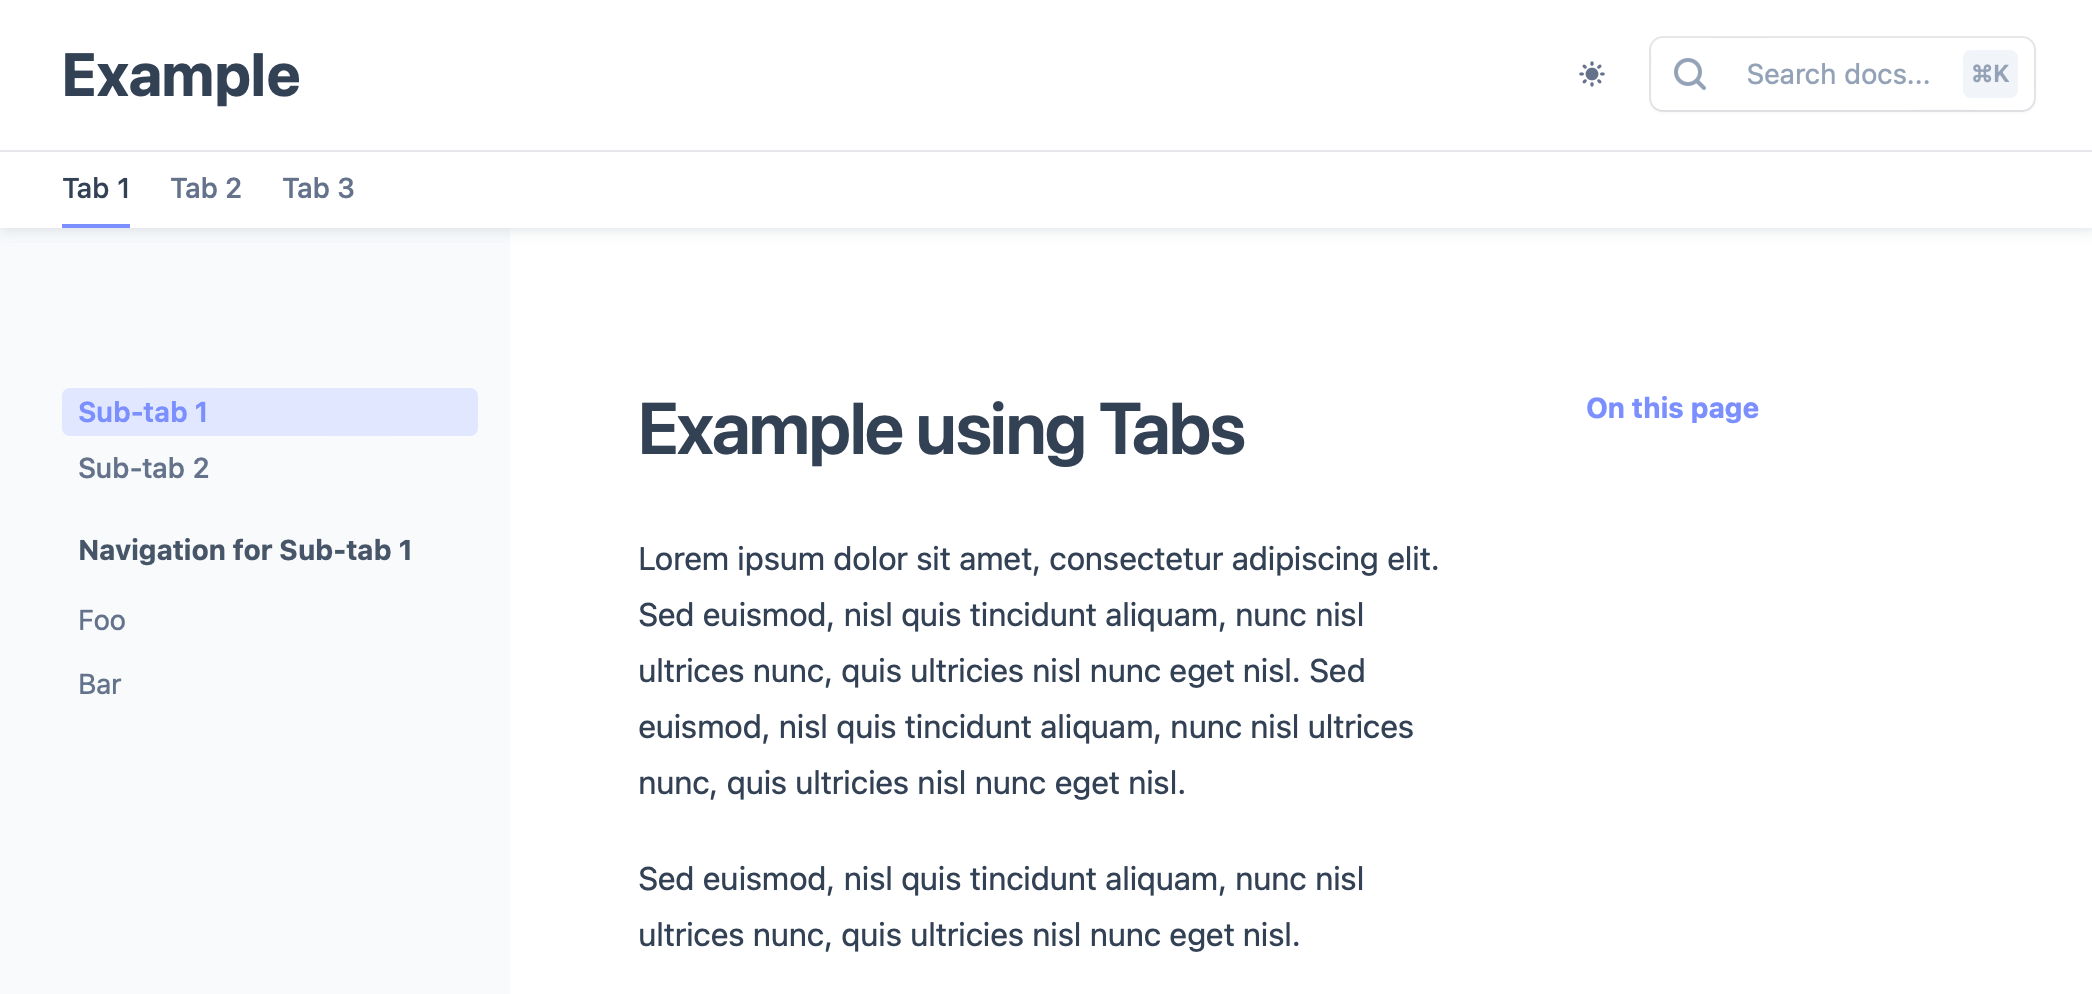
The following will example covers a site with tabs and sub-tabs, like in the picture below.
1. Add a structure.yaml
To add a tab, use the following structure.yaml file in your project root:
tabs:
  - label: Tab 1
    subtabs:
      # The first sub-tab is special in that it will
      # contain the files in your project root.
      - label: Sub-tab 1
        path: /
      - label: Sub-tab 2
        path: /tab1/sub-tab-2/
  - label: Tab 2
    subtabs:
      - label: Sub-tab 1
        path: /tab2/sub-tab-1/
      - label: Sub-tab 2
        path: /tab2/sub-tab-2/
  - label: Tab 3
    subtabs:
      - label: Sub-tab 1
        path: /tab3/sub-tab-1/
      - label: Sub-tab 2
        path: /tab3/sub-tab-2/
2. Add a navigation.yaml for each new sub-tab
Add a new navigation.yaml file in the folders:
tab1/sub-tab-2/navigation.yamltab2/sub-tab-1/navigation.yamltab2/sub-tab-2/navigation.yamltab3/sub-tab-1/navigation.yamltab3/sub-tab-2/navigation.yaml
An example navigation.yaml file may look like this:
- heading: Navigation for the tab
  items:
  - label: Foo
    href: Foo.md
3. Add a README.md for each new tab
Add a new README.md landing page files in the tab folders:
tab1/sub-tab-1/README.mdtab2/sub-tab-1/README.mdtab2/sub-tab-2/README.mdtab3/sub-tab-1/README.mdtab3/sub-tab-2/README.md
An example README.md file may look like this:
# Tab

This is the landing page for the tab
Tabs with external links
You can also add tabs that link to external sites.
To do so, add the external field to the tab definition:
tabs:
  - label: Link To External Site
    external: http://example.com/
Icons
You can add icons to your tabs and subtabs to make them easier to understand at a glance.
Doctave supports two open source icon sets:
To add an icon, use the icon key for the tab or subtab:
tabs:
  - label: home
    subtabs:
      - label: Home
        path: /
    icon:          # Add the `icon` key
      set: lucide  # Specify which icon set you want to use
      name: home   # Specify the name of the icon
Lucide icons
Lucide icons have over 1000 useful icons to select from.
Select an icon, and copy the name of it into your structure.yaml file:
![]()
Devicon icons
Devicon is an icon set that contains large set of programing related icons and logos. You can find most programing language and popular open source library icons in it.
NOTE: Doctave only supports the uncolored Devicon font icon varieties.
To find the name of the icon, use the plain name of the icon without the devicon- prefix or variant identifier.
For example, devicon-docker-plain becomes docker.
![]()
Why is my tab or sub-tab not showing?
If only one tab is defined, the tab bar won't be rendered. Similarly, if only one sub-tab is defined for a tab, the sub-tab selector won't be rendered.
Examples
Example 1: Tabs with sub-tabs
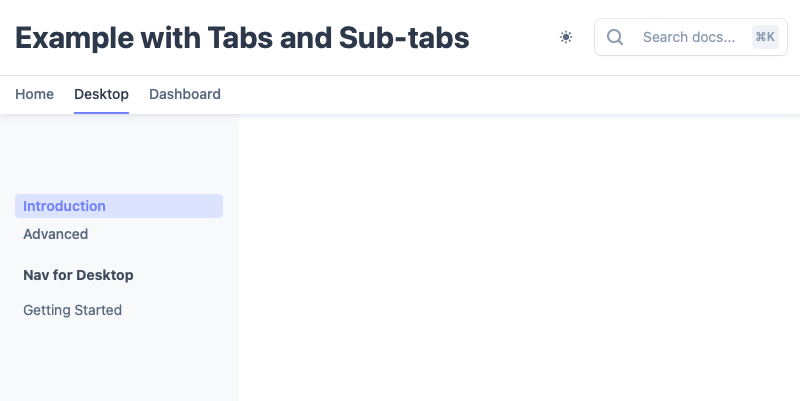
An example where we define a Home tab and two additional tabs, Desktop and Dashboard, each with two sub-tabs.
Project structure:
/project
├── doctave.yaml
├── structure.yaml
├── navigation.yaml
├── README.md
├── desktop/
│   ├── introduction
│   │    ├── navigation.yaml
│   │    ├── README.md
│   │    └── introduction.md
│   └── advanced
│        ├── navigation.yaml
│        ├── README.md
│        └── advanced.md
└── dashboard/
    ├── introduction
    │   ├── navigation.yaml
    │   ├── README.md
    │   └── introduction.md
    └── advanced
        ├── navigation.yaml
        ├── README.md
        └── advanced.md
... with an example structure.yml file:
tabs:
  - label: Home
    subtabts:
      - label: Home
        path: /
  - label: Desktop
    subtabs:
      - label: Introduction
        path: /desktop/introduction/
      - label: Advanced
        path: /desktop/advanced/
  - name: Dashboard
    subtabs:
      - label: Introduction
        path: /dashboard/introduction/
      - label: Advanced
        path: /dashboard/advanced/
Example 2: Tabs without sub-tabs
An example where we define two tabs, Desktop and Dashboard, without any sub-tabs.
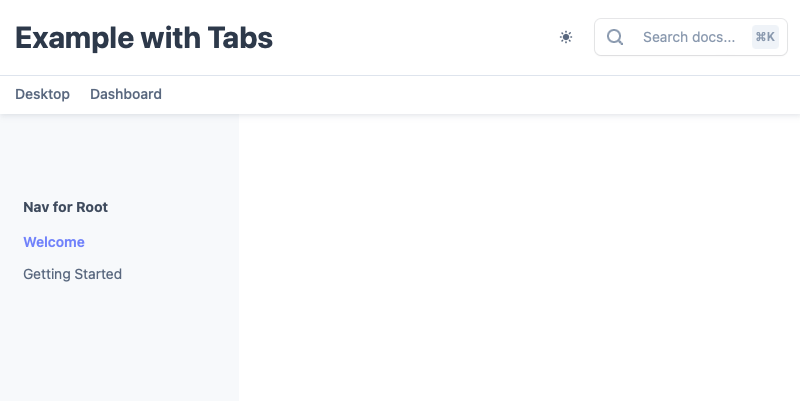
Project structure:
/project
├── doctave.yaml
├── structure.yaml
├── navigation.yaml
└── desktop
│   ├── navigation.yaml
│   ├── README.md
│   └── getting-started.md
└── dashboard
    ├── navigation.yaml
    ├── README.md
    └── getting-started.md
... with an example structure.yml file:
tabs:
  - label: Home
    subtabs:
      - label: Home
      path: /
  - label: Dashboard
    subtabs:
        label: Dashboard
      - path: /dashboard/
  - name: Desktop
    subtabs:
        label: Desktop
      - path: /desktop/
Example 3: Sub-tabs without tabs
Example, where we define two three sub-tabs, Home, Introduction and Advanced without any tabs.
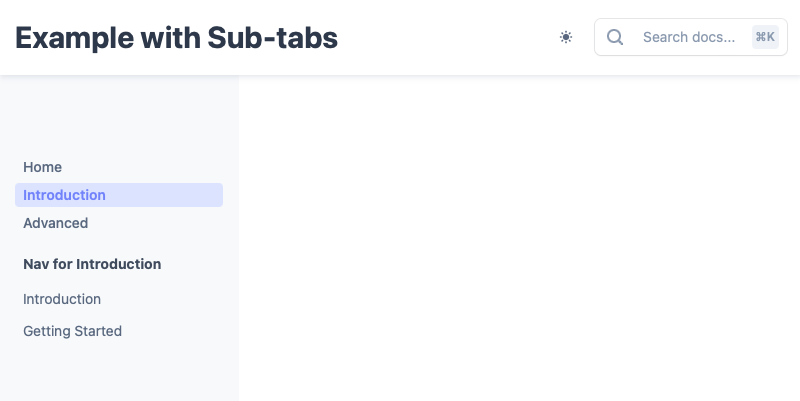
Project structure:
/project
├── doctave.yaml
├── structure.yaml
├── navigation.yaml
├── README.md
└── docs
    ├── introduction
    │   ├── navigation.yaml
    │   ├── README.md
    │   └── getting-started.md
    └── advanced
        ├── navigation.yaml
        ├── README.md
        └── getting-started.md
... with an example structure.yml file:
tabs:
  - label:
    subtabs:
    - label: Home
      path: /
    - label: Introduction
      path: /docs/introduction/
    - label: Advanced
      path: /docs/advanced/
Was this page helpful?

