Writing documentation with Doctave
So far, we've setup our account, downloaded the desktop app, and setup our first project. Let's take a very high level look at how you write documentation with Doctave.
Writing with Doctave Studio
Our desktop app, Doctave Studio, is how you preview your documentation locally.
Doctave Studio gives:
- A preview of what your documentation will look like once published
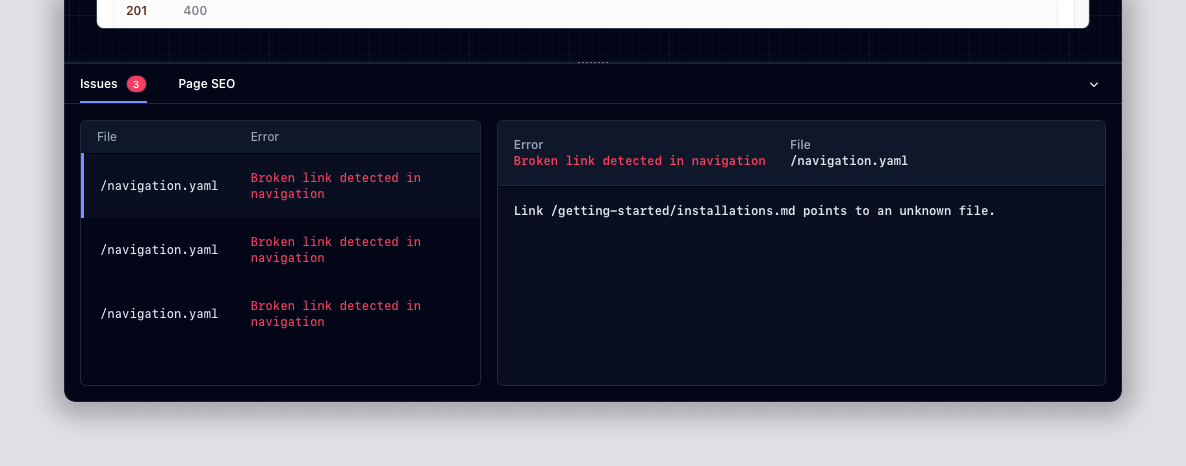
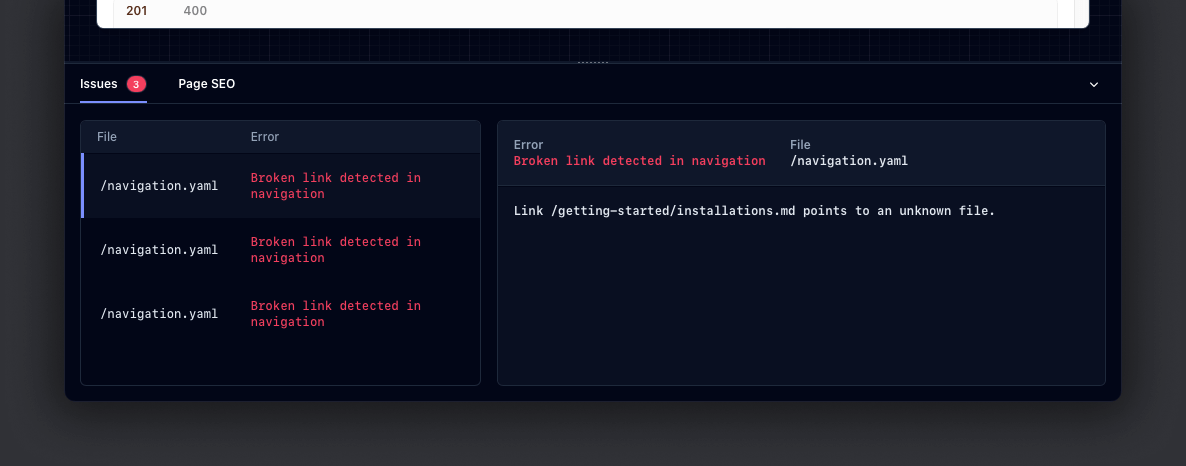
- Warnings of potential issues, such as broken links or syntax errors
- An SDK that's easy to install and is always up to date (no more debugging
npm install!)
The actual writing of your documentation is done with an editor of your choice. Whenever you make a change in your editor, the Doctave desktop app will immediately update to reflect the changes.
Typically, writers will have two windows open side by side: Doctave on one side and their editor on the other.
Adding pages and navigating
To add a new page to your docs site, you create a new file.
The path of the file will determine what path the page can be accessed at.
As an example, if you create a page under:
introduction/docs/getting-started.mdwill be accessible to your readers online at:
<your project's domain>/introduction/docs/getting-startedNavigation
The left side navigation is managed in the navigation.yaml file. You can
create multiple sections, nested hierarchies, collapsible lists, subheadings,
and much more.
You can read more about how Doctave handles navigation here.
Tabs
The starter project comes with 3 tabs, which are configured in the
doctave.yaml file. Tabs are a way to divide your content into logical
groups, each with its own navigation structure.
In Doctave tabs show up at the top of your project, and contain one or more
subtabs. Each subtab maps to a specific directory in your project, and has
its own navigation.yaml that activates when you visit a page in that subtab.
You can read more about tabs here.
Assets
You can include images and more as part of your documentation site. Doctave
will include all assets under an _assets directory.
In order to include an image for example, you refer to the file by its path in the asset directory:
An image under _assets/cat.jpg would be displayed as so:
Next, let's create your docs site in the Doctave Dashboard.