Publishing Documentation
We're almost there! Let's publish your documentation to Doctave.
In the previous step, you chose either the upload script method, or the drag and drop method to upload your docs to Doctave. Jump now to the relevant section.
Upload script
Doctave provides a convenience script that packages up your documentation and uploads it to our servers. All files and folders that are in the same directory as your project configuration file will be uploaded.
Getting your upload token
In order to publish your documentation, you will need you project's upload token.
It can be found in your project's settings, or if you are following the dashboard tutorial, it will be shown to you in the "Publish your docs" step.
Running the script
You invoke the script like this:
# Export your sites's unique upload token
export DOCTAVE_UPLOAD_TOKEN=<your site upload token>

# Make sure you're in the same directory as the doctave.yaml file
cd path/to/my/docs

# Ensure you have at least one Git commit:
git add .
git commit -m "Initial commit"

# Publish!
curl -L http://dashboard.doctave.com/doctave-upload.sh | bash -s -- .
🔒 What does the upload script do?
The script runs a couple Git commands in order to check which branch and commit the changes belong to, zips up your docs, and sends them to Doctave's servers. The script itself is only ~150 lines long and easy to audit.
Doctave never accesses the rest of your source code and doesn't require access to your repository. You push your docs to us.
This means Doctave works well also in monorepo environments. You only send your documentation - Doctave never sees the rest of your repository.
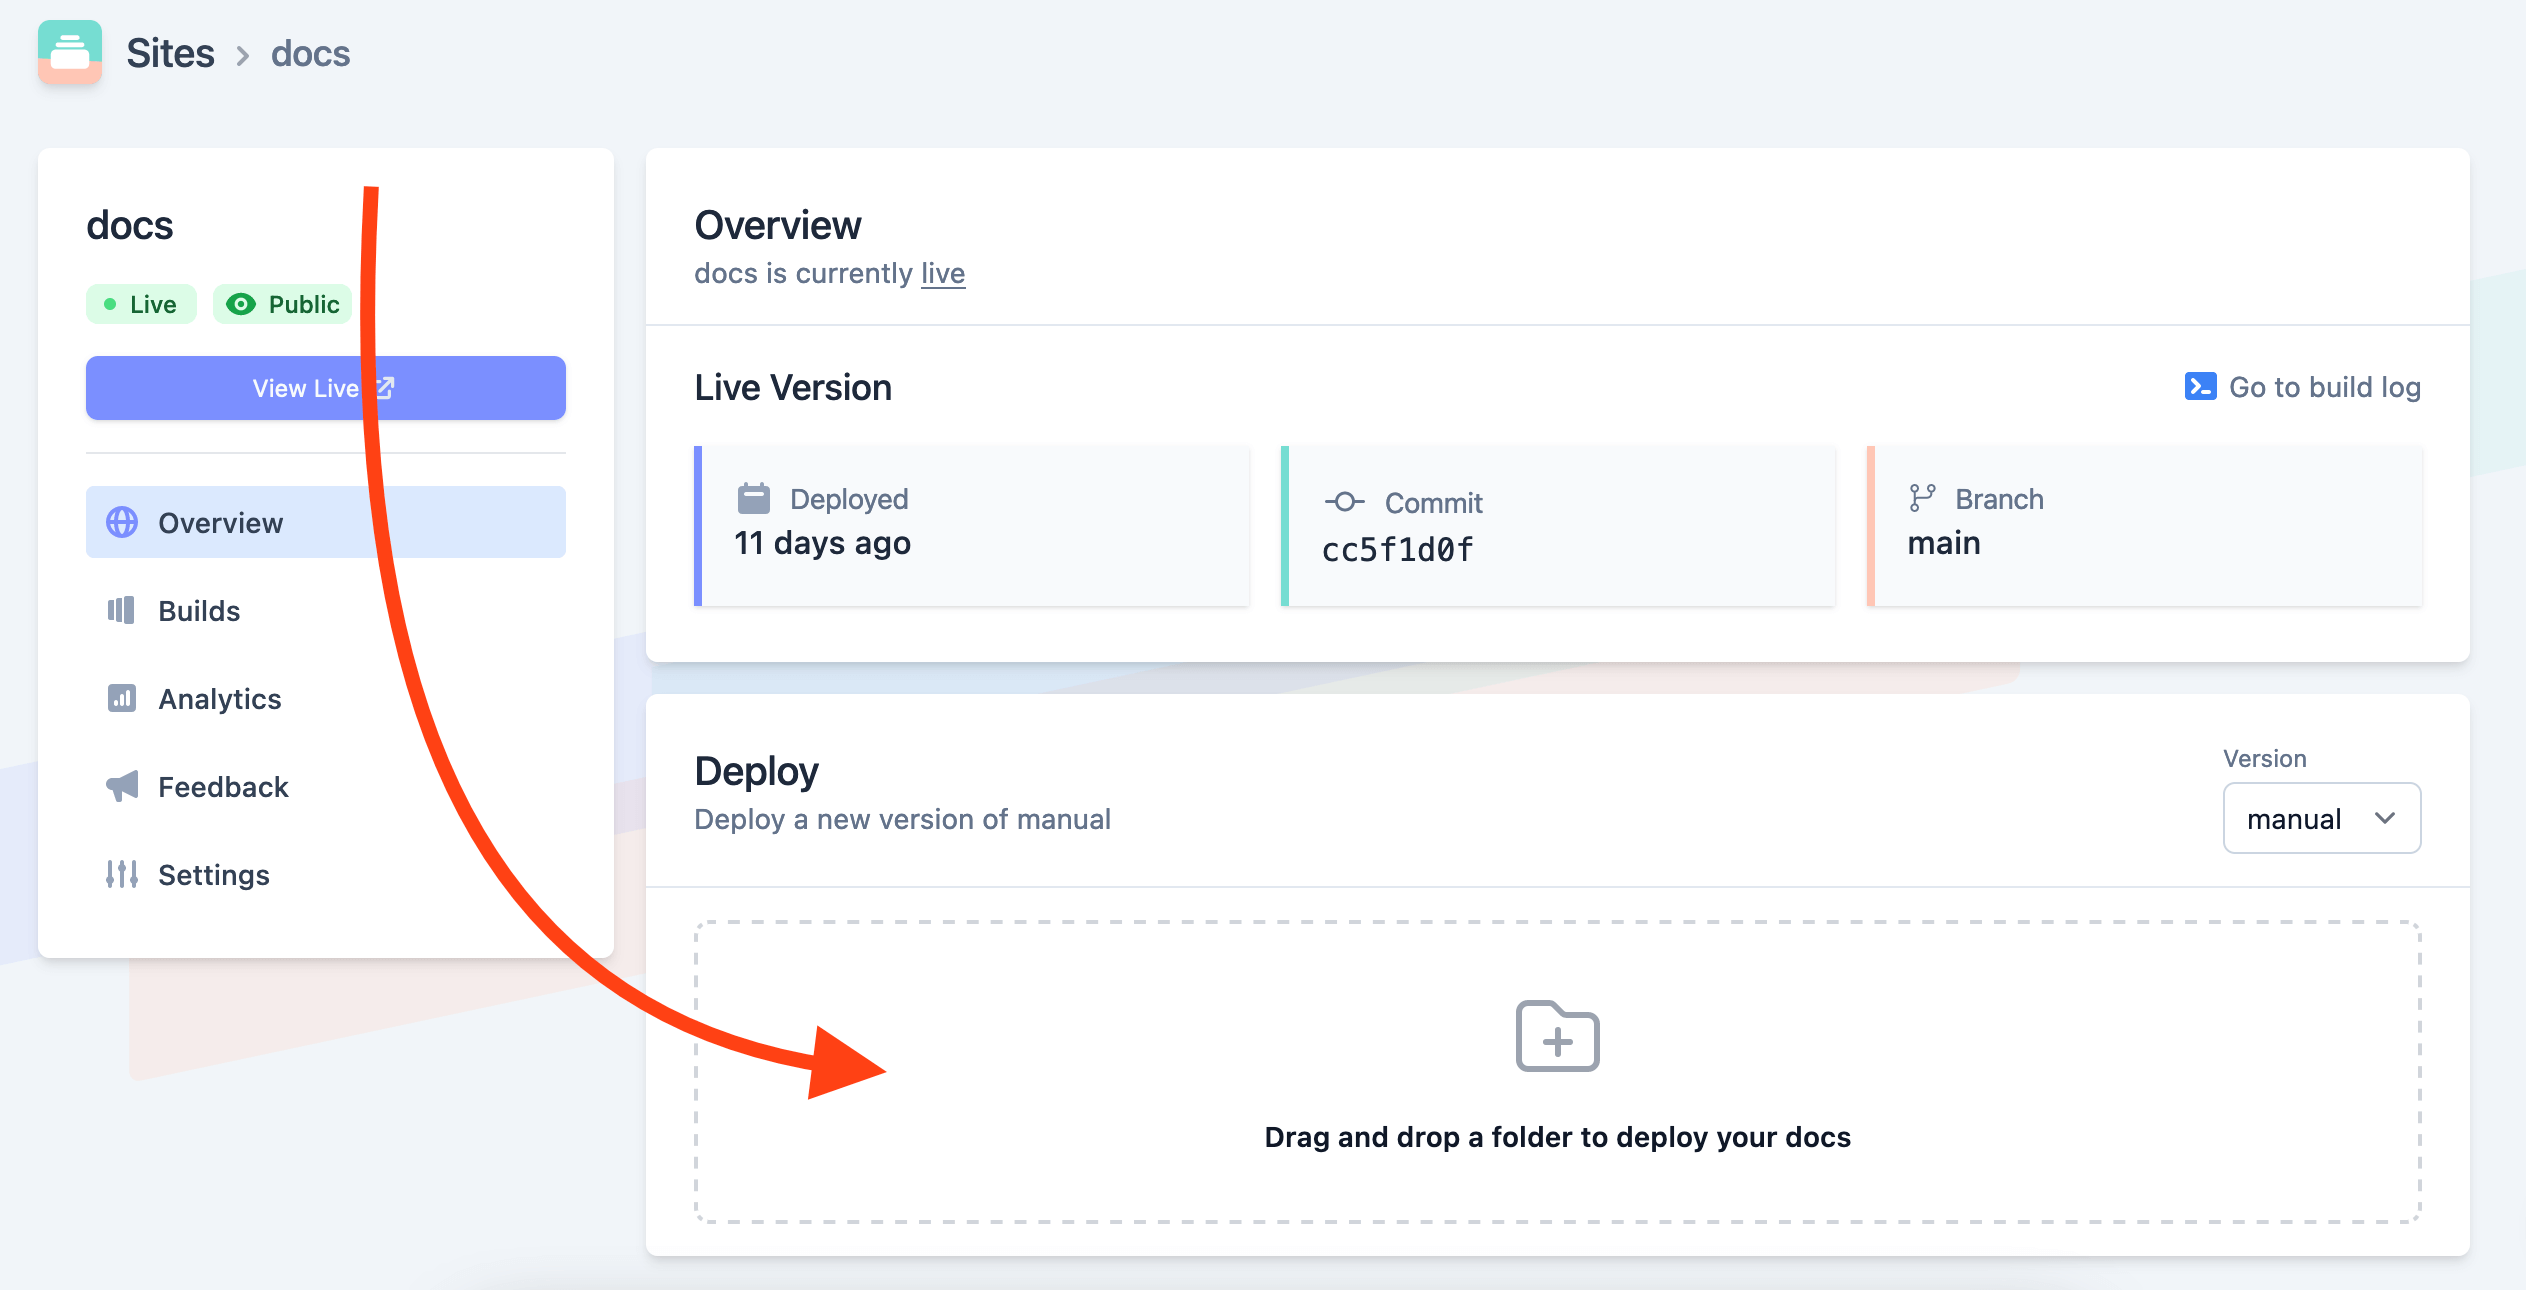
Drag and drop upload
The easiest way to upload your documentation is by dragging and dropping your project directory into the Doctave dashboard. This is useful if you want to experiment with a project that's not in a Git repository. However, Doctave recommends using Git for production environments.
- Set your version to match manual uploads
- Navigate to your site's overview page
- Select the correct version from the version dropdown
- Drag and drop your project directory into the upload area
Viewing your documentation
Success! You have uploaded your documentation successfully!
You can now visit your documentation live. If you are following the dashboard tutorial, you will see a link to go view your documentation live. Otherwise, open your project in the sites page and click "View Live."
We're almost done! Let's briefly talk about how Doctave works when working with a team.